改造Jekyll模板的技术细节
框架的文件夹结构
_includes :存放了一些定制的网页元素,比如header.html是整个页面的头,也就是最上面的菜单栏。又如author.html,是作者页面,用于展示作者信息。通用的JS文件都放在scripts.html里。
_layout :主要定义了两种类型页面的排版,post是为单篇文章设计的排版,post-index是为一系列文章设计的排版。
_posts:用于存放所有文章的md文件,md文件的命名必须严格按照”年-月-日-标题”的格式命名。
_sass:用于存放定制的css文件,比如_page就规定了页面各个元素的宽度颜色字体,_variables定义了一些全局变量的值。
_site:模板编译完成后生成的页面,这个是真正可以直接部署的页面,平时不用看
_templates:规定了不同类型的排版文件中可以定义的变量
前面不带下划线的文件夹存放用户自己定制的页面,比较重要的有:
images:用于存放图片
search:用于存放搜索框页面
tags:用于存放按照tags列出所有文章的页面
categories:用于存放按照category列出所有文章的页面
posts:用于存放列出所有文章的页面
对于我本人的页面
aethetics文件夹里面是浏览所有categories为Aethetics的文章的页面,cpp是浏览categories为cpp的文章的页面等等,都是手动复制的,非动态
重要的文件
_config.yml:非常重要,存放用于定制框架的全局变量
index.html:非常重要,用于存放本站的首页,也就是latest posts页
search.json:非常重要,search功能必需文件
框架变量的形式:{{}}
框架的变量一般用双大括号表示,例如在根目录的index.html中:
{{site.url}}
就是页面url的字符串,对于index.html页而言,经过编译的结果就是“einsteinliu.github.io/index.html”这个字符串
又比如:
{{post.image.feature}}
post是指排版类型为post的一个页面,而post的排版类型在_template文件夹的post文件中规定了如下可以定义的变量:
layout: {{ layout }}
title: {{ title }}
modified:
categories: {{ dir }}
description:
tags: []
image:
feature:
credit:
creditlink:
comments:
所以image就是post的子变量,而image这个子变量又有一个子变量叫做feature,这个变量用于存放这篇文章的题图,比如我们使用image文件夹中的Caspar_David_Friedrich_Der_Monch_am_Meer_Google_Art_Project.jpg作为题图,我们就要在相应post的MD文件中加上:
image:
feature: Caspar_David_Friedrich_Der_Monch_am_Meer_Google_Art_Project.jpg
credit: Der Mönch am Meer
creditlink: https://en.wikipedia.org/wiki/The_Monk_by_the_Sea
于是{{post.image.feature}}就会被编译为字符串“Caspar_David_Friedrich_Der_Monch_am_Meer_Google_Art_Project.jpg”
同理,{{post.image.credit}}会被编译为字符串“Der Mönch am Meer”
框架控制流的形式:{% %}
框架生成网站的逻辑控制流均使用以上形式,例如在根目录的index.html文件中:
{% for post in paginator.posts %}
{% endfor %}
这一对循环语句中间,post 就是属于 paginator 的文章,也就是近期发布的文章列表中的文章。这一对控制语句就是将近期发布列表 paginator 中的文章loop一遍。
又比如:
{% if post.image.feature %}
{% endif %}
显然构成一个判断语句,意思是如果当前的 post 包含了题图,就加入题图元素:
<div class="entry-image-index">
   <a href="{{ site.url }}{{ post.url }}" title="{{ post.title }}"><img src="{{ site.url }}/images/{{ post.image.feature }}" alt="{{ post.title }}"></a>
</div>
一些代码效果图
category小标签:
代码:
<ul class="entry-meta inline-list">
  {% for item in (0..site.categories.size) %}{% unless forloop.last %}
    {% capture this_word %}{{ cats_list[item] | strip_newlines }}{% endcapture %}
  	<li><a href="#{{ this_word }}" class="tag"><span class="term">{{ this_word }}</span> <span class="count">{{ site.categories[this_word].size }}</span></a></li>
  {% endunless %}{% endfor %}
</ul>
效果如下:

category列表
代码:
{% for item in (0..site.tags.size) %}{% unless forloop.last %}
  {% capture this_word %}{{ tags_list[item] | strip_newlines }}{% endcapture %}
  <span class="anchor-bookmark" id="{{ this_word }}"></span>
	<article>
	<h2 class="tag-heading">{{ this_word }}</h2>
		<ul>
	{% for post in site.tags[this_word] %}{% if post.title != null %}
	  <li class="entry-title"><a href="{{ site.url }}{{ post.url }}" title="{{ post.title }}">{{ post.title }}</a></li>
	{% endif %}{% endfor %}
		</ul>
	</article><!-- /.hentry -->
{% endunless %}{% endfor %}
效果如下:
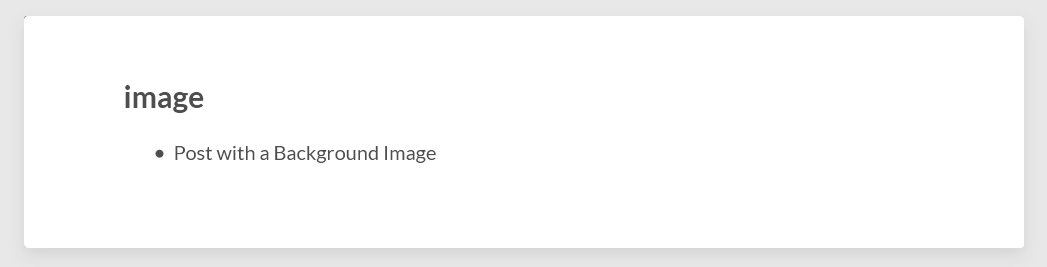
题图
代码:
{% if post.image.feature %}
    <div class="entry-image-index">
      <a href="{{ site.url }}{{ post.url }}" title="{{ post.title }}"><img src="{{ site.url }}/images/{{ post.image.feature }}" alt="{{ post.title }}"></a>
      {% if post.image.credit %}<div class="image-credit">Image source: <a target="_blank" href="{{ post.image.creditlink }}">{{ post.image.credit }}</a></div>
      {% endif %}
    </div><!-- /.entry-image -->
{% endif %}
效果如下:

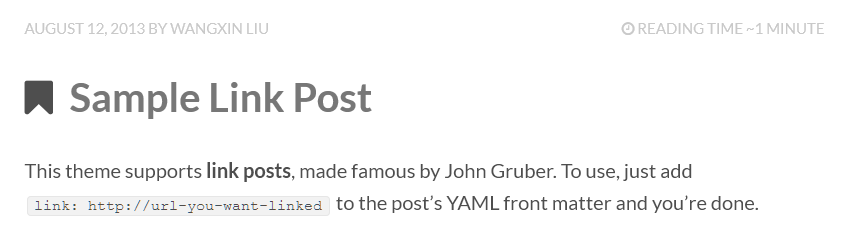
带链接的文章
代码:
{% if post.link %}
      <h1 class="entry-title"><a href="{{ site.url }}{{ post.url }}" class="permalink" rel="bookmark" title="{{ post.title }}"><i class="fa fa-bookmark"></i></a> <a href="{{ post.link }}">{{ post.title }}</a></h1>
{% else %}
      <h1 class="entry-title"><a href="{{ site.url }}{{ post.url }}" rel="bookmark" title="{{ post.title }}" itemprop="url">{{ post.title }}</a></h1>
{% endif %}
同时在文章的MD文件中添加link: http://xxxxxxxx 即可 效果如下:
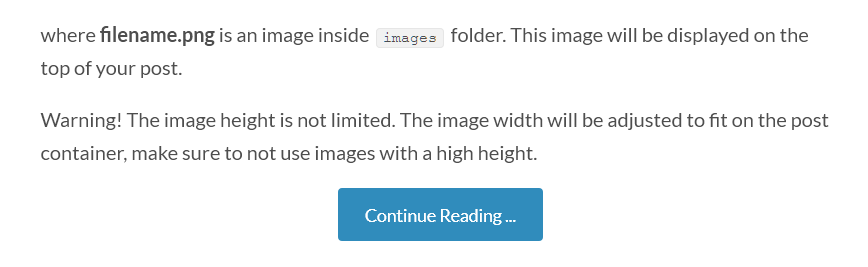
添加Continue Reading按钮
在MD文件中插入一行 这一行后面的部分将隐藏,只有点开按钮后才会显示整篇文章:
<div class="entry-content">
   {% if post.content contains "<!-- more -->" %}
       {{ post.content | split:"<!-- more -->" | first % }}
       <div align="center">
           <div markdown="0"><a href="{{ site.url }}{{ post.url }}" class="btn btn-info">Continue Reading ...</a></div>
       </div>
   {% else %}
     {{ post.content }}
   {% endif %}
</div><!-- /.entry-content -->
效果如下:
在根目录加入新文件夹,里面的index.html会被编译成一个页面
一些CSS设置位置
图片来源的html元素:
Image source link(image credit) in html(Remove the image source in the real case):
{% if page.image.credit %}<div class="image-credit">Image source: <a target="_blank" href="{{ page.image.creditlink }}">{{ page.image.credit }}</a></div><!-- /.image-credit -->{% endif %}图片来源的CSS设置:
Image credit’s css setting:
/_sass/_page.css
.image-credit {
}
多说的CSS设置:
/_sass/_page.css
#ds-thread {
}
文章宽度的CSS设置(分中和大两种排版):
/_sass/_page.css
#post,
#page {
	.entry-content {
		@media #{$large} {
			max-width: 1200px;
			}
		}
	}
以$开头的变量:
The values starts with $ are defined in:
/_sass/_variables.scss
博客大标题”Wangxin’s Blog”的CSS
仍然是 /_sass/_page.css:
.header-title-wrap
里的
h1{
大标题相关CSS样式设置
}
插入数学公式
官方教程,使用公式在head.html中插入以下代码段:
<script type="text/javascript"
        src="http://cdn.mathjax.org/mathjax/latest/MathJax.js?config=TeX-AMS-MML_HTMLorMML">
</script>
事实上这是不行的,因为安全问题,浏览器不会load http:// 的链接,所以使用以上代码的结果就是公式无法显示
load的这个js脚本是一个MathJax.js文件,这个文件当然可以先存在本站,然后从本站加载。
除了MathJax.js,这个脚本还会去/extensions/文件夹里找MathMenu.js和MathZoom.js文件。
更容易的办法是在head中插入以下代码,可以绕过安全问题:
<script type="text/javascript" async
  src="//cdn.mathjax.org/mathjax/latest/MathJax.js?config=TeX-AMS-MML_HTMLorMML">
</script>